
Minecraft is a game that stands out for its many elements, something that makes there are so many users who play globally. An object that becomes important in this game is the seeds. They are something that we can cultivate and that will undoubtedly be of enormous help at all times. For this reason, below we will tell you all about the seeds in Minecraft.
We are going to talk to you about the types of seeds we have available in Minecraft. In addition to the way in which they can be grown and how we can make them germinate in the popular game. This will help you to be able to grow seeds in your account, which is something that can get you out of many problems as we play.
Seeds in Minecraft
Seeds are an object that we can grow in the game. By having seeds on our farm, we can grow our own food, which is undoubtedly something that can be very useful in Minecraft, by reducing our dependence on others. In addition, another aspect that makes them of interest is that they can help attract animals to our farm, so in a fairly simple way we can expand the farm, thanks to those animals that will come closer to it.
The only thing we are going to need is a bag, which we can create, as well as finding some dirt and water. Then we will be able to plant these seeds in the ground and start growing our own food. In a matter of a few days these seeds will have grown and in this way we will have plants, with our own food.
As possibly many of you already know, There are several types of seeds available in Minecraft. All of them will be very useful when it comes to growing our own food, so the ideal is to have several types available in the game. We tell you more about these types that we have available.
Types of seeds
The seeds in the game can be divided into four groups or categories. There are at least four types of seeds that we can currently grow in the game, who knows if new types will be added to it in the future. For now, the four types of seeds that are available in Minecraft are:
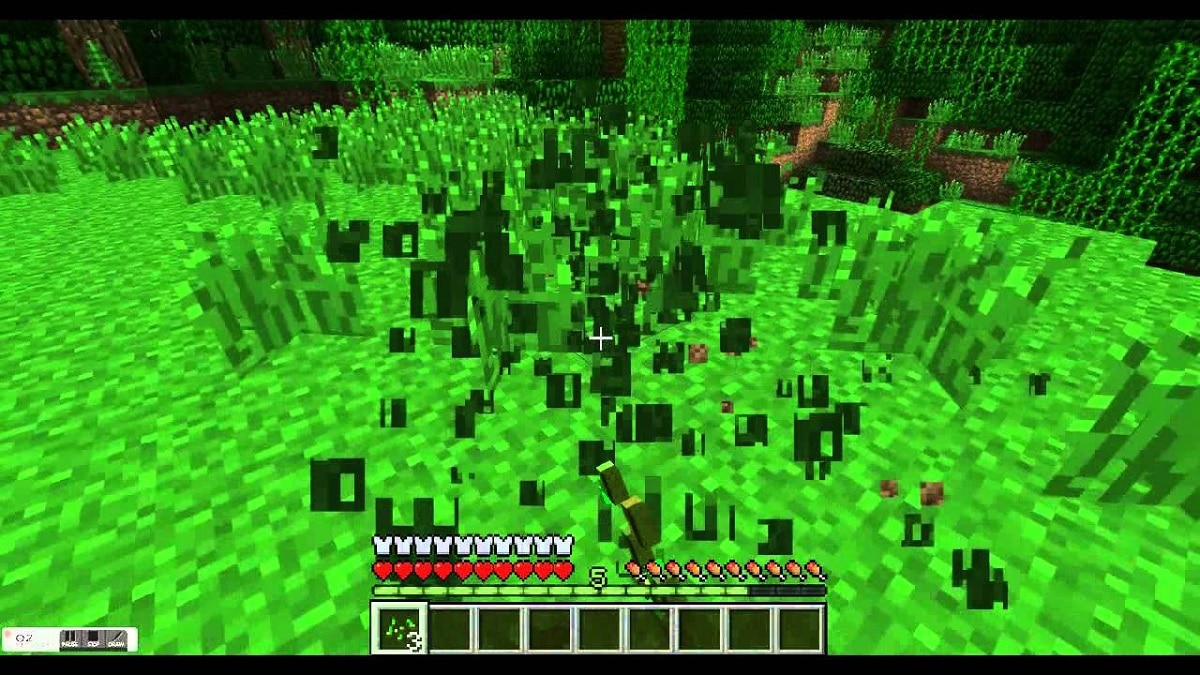
- Wheat seeds: This type is obtained every time we use a bag in a block of grass or use scissors in tall grass.
- Beet seeds: This type of seed is obtained every time beet crops are harvested on the village farms. You can also cut the grass in previous versions of the game to obtain them.
- Pumpkin: Pumpkins can be found in plains, savannas or taigas. If you want to obtain the seeds of said pumpkin, you have to place the pumpkin in question on the creation table and then these seeds are extracted.
- Melons: In the jungles within Minecraft you will be able to find melons. Once you have obtained one, you can place that melon on the creation table and thus get slices of melons. Then you put the slices in and then you get those seeds.
These are the four types of seeds that await us in the game. We will be allowed to grow them all, so depending on what you find or have in your inventory, you can use it on your farm and thus start producing your own food, which is undoubtedly something of importance.
Tips for growing seeds in Minecraft
Any user in the game will be able to grow seeds and thus start producing their own food. Although there are a number of aspects that must be taken into account when doing this, so that this cultivation is carried out in the most efficient way possible. An aspect of great importance is to avoid cold and dry biomes. Crops are something that grow very fast in warm biomes, where grass is green and trees grow easily. That is why we must avoid these types of areas if we want to plant seeds.
How do you know if a biome is not the best place to grow seeds? There are a series of indications that we must have present or that we must observe to know if a biome is not suitable for growing seeds, or rather, a biome where those seeds are going to grow too slowly. These are the five aspects that indicate these problems:
- Ice covered leaves.
- Snow.
- The step has a yellowish color.
- The terrain is covered with steep mountains.
- Sand.
Seeds in Minecraft grow quickly, in about two or three days of play, but as long as they have plenty of light and water. It is therefore important to choose areas where they will have light and that we always have water available to water them, thus helping them to grow rapidly. On the other hand, it is important that we know that the color change can be seen at the base. We will see that change in color of the mature plants at the base and not at the top, something that many think, but that is not the case. Therefore, always look at the base to see if they are ready.
On the other hand, we must cultivate the seeds using our handss. If we use any machines, which in principle may sound like a faster and more efficient way to do it, what we are really doing is destroying them. So it is important to perform by hand. On the other hand, the farmland is very flat, flatter than other projects in the game. So it is recommended to create a landmark if the farm is not close to your home.
How to grow seeds
Once we have chosen the right terrain and we already have said seeds that we are going to use, we are ready to plant or cultivate these seeds in Minecraft. The process itself is not complicated, so with a series of steps we can do this. As we have mentioned before, they need a lot of water and light, so it is important to choose that area well. The steps we have to follow in this case are:
- Prepare the farmland: Equip the bag and you have to use it on the grass or soil to prepare the farmland. The way to identify farmland is by its parallel lines on the surface.
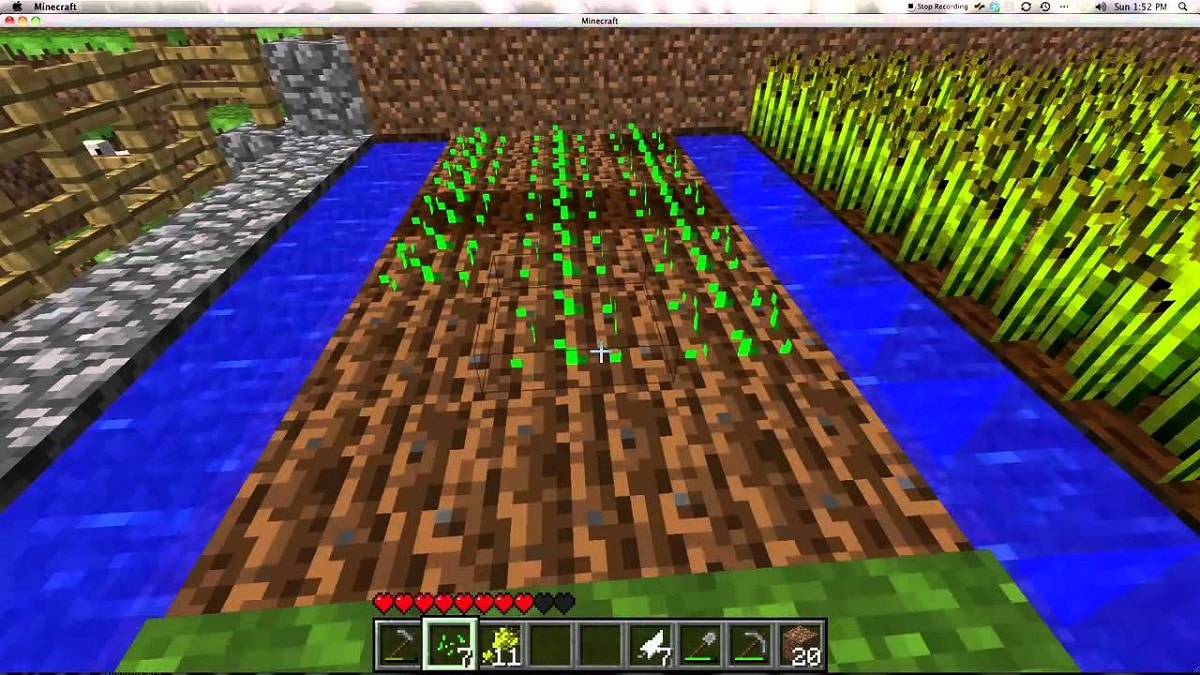
- Water the crop: Wheat grows more easily if it is watered and other crops also need water to grow. The farmland has to be kept well watered, something that we can see thanks to its darker tone. Ideally, keep blocks of water about four blocks apart so that it is well watered, but if the distance is three blocks, they will grow even faster. If you are starting out, place the farm near water, as it will help you to function better at all times.
- Waiting: Now we have to wait for these seeds to grow. The crops grow on their own, going through a series of growth phases, which we can see at all times. We just have to wait for that moment to collect them and we already have our own food.
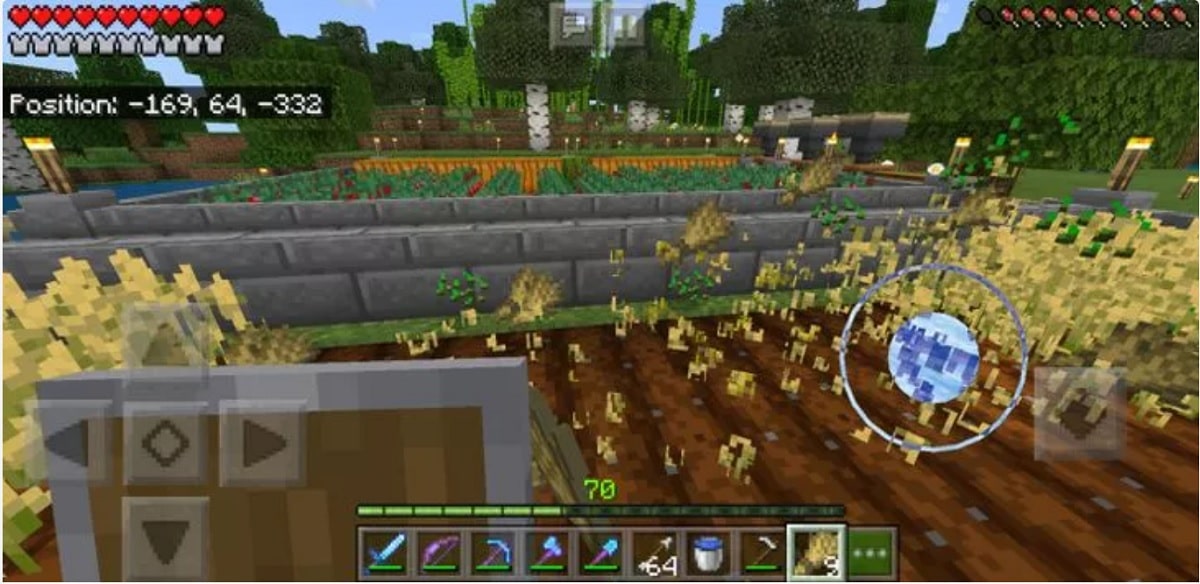
- Harvest: The last step is harvesting the crops. All we have to do in this case is click and hold that fruit, in order to get a product. There is a possibility that by harvesting wheat or beets we will get new seeds, so that we can start a farm. In the case of melons, collect the fruit but leave the stem, since this way we will not have to plant new seeds, but new fruits will grow again.
Collect crop
When it comes to collecting the crop that we have planted in the game, there are a number of aspects that we must consider. It is very important that let's pick what we've planted when it's ready, never before time. The problem we face if we harvest something ahead of time is that we do not get that product (wheat or beets, for example), but we simply get seeds again. It is something that is annoying and that will definitely feel like a waste of time.
The way to know if these seeds that we have planted have already become that product that we can collect is to look at how they look. Since in the way they look you can usually see if they are ready or not. This is something that many users do not know, but can be easily identified. This is how they can be identified if it is time to collect them:
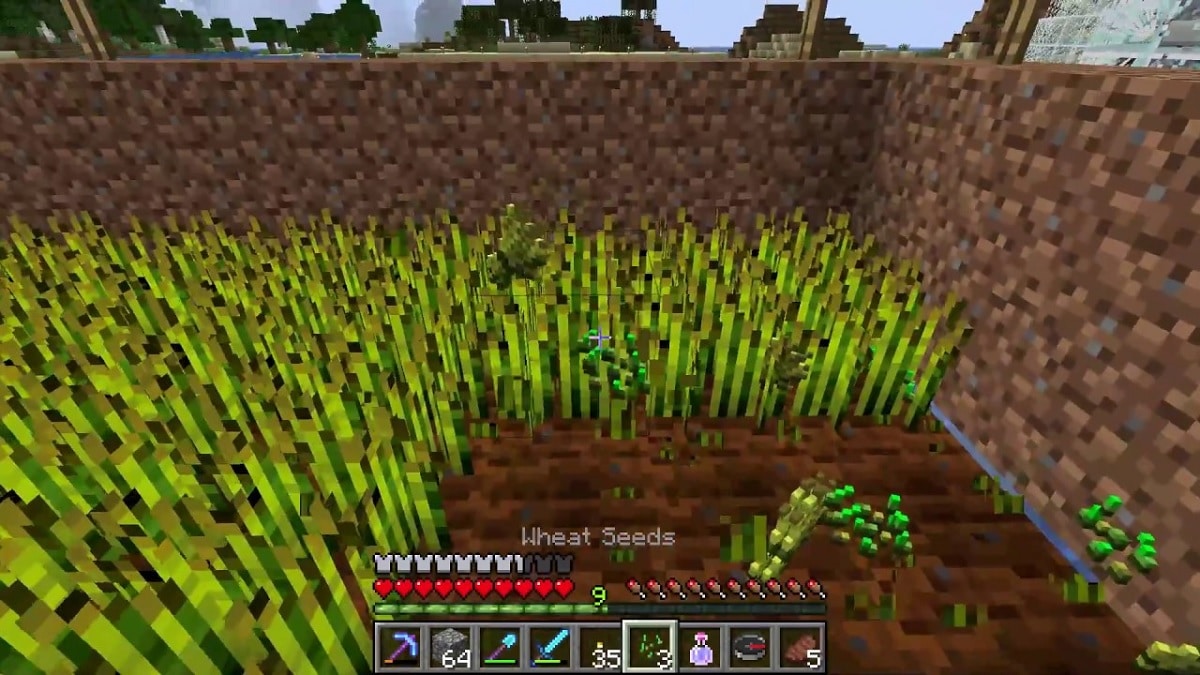
- Wheat is ready when it is tall and has a yellow-brown color.
- The beet is ready to be harvested when the plant is tall and also has a series of bush-like leaves.
- The melons and pumpkins are ready if we can see the fruit already. The fruit sits in a block on one side of its stem.